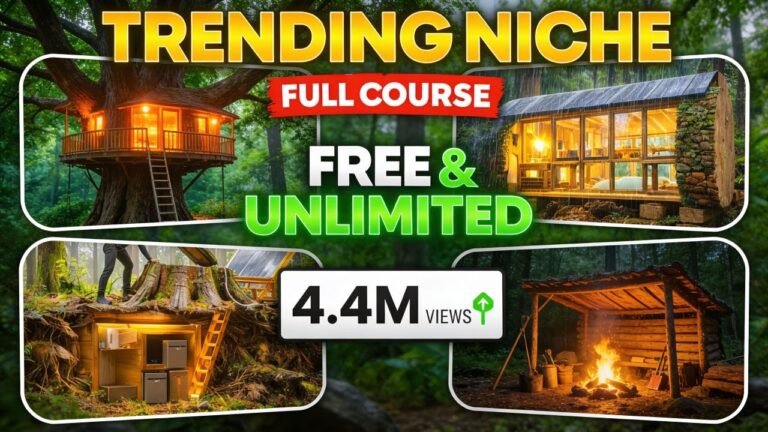
ASMR-style content has started 2026 with massive momentum, especially relaxing and visually immersive formats. While Ghibli-inspired relaxation videos were among the first major viral trends this year, a new competitor has emerged and is growing at an astonishing pace: AI-powered survival ASMR content.
This article breaks down how this niche works, why it is exploding right now, and how you can create your own AI survival ASMR channel from scratch using a complete, step-by-step workflow—based strictly on the provided transcript.
Why the AI Survival ASMR Niche Is Growing So Fast
A recently revived YouTube channel returned after three years of inactivity and immediately gained massive traction. Within just two weeks:
- One video crossed 6 million views
- Multiple uploads reached hundreds of thousands of views
- Even newer videos are gaining strong daily momentum
The reason behind this success is the combination of survival-style storytelling and AI-generated realism, which keeps viewers engaged from start to finish.
What Makes This Content Different
Traditional survival channels require:
- Real locations
- Physical labor
- Long production timelines
In contrast, AI-generated survival ASMR:
- Eliminates real-world filming
- Removes long build times
- Allows faster content creation
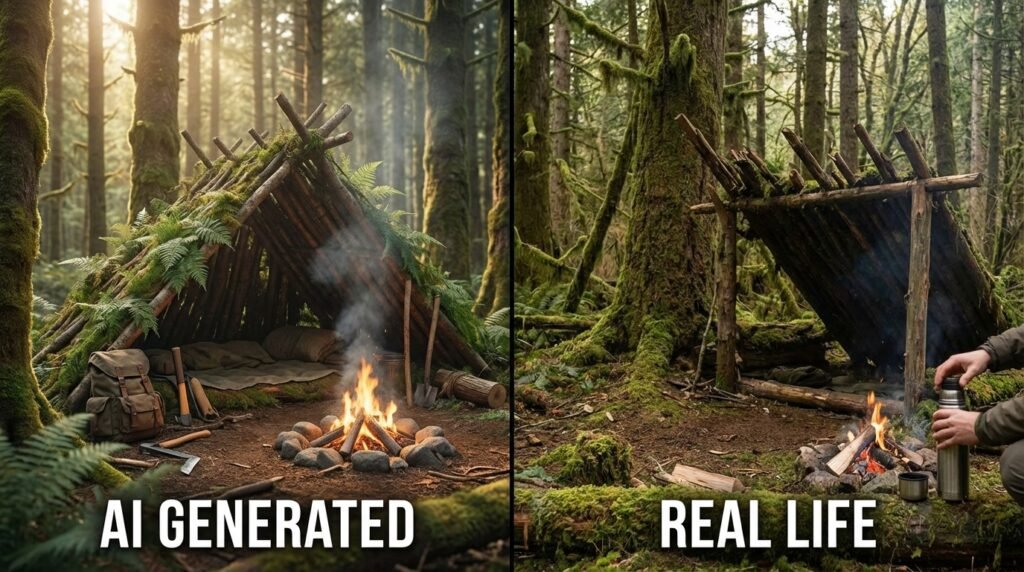
Most importantly, AI visuals have reached a point where it’s becoming extremely difficult to tell the difference between real footage and AI-generated scenes.
Why AI Works Perfectly for ASMR Content
ASMR content relies heavily on:
- Visual immersion
- Ambient sound effects
- Slow, detailed actions
Since this niche does not require voiceovers, it fits perfectly with AI-generated visuals and sound design. As AI tools continue to improve, the quality gap between AI and real footage keeps shrinking.
Complete Step-by-Step Workflow Overview
This tutorial covers the entire creation process, including:
- Topic selection
- Scene creation
- Image prompt generation
- Video animation
- Editing
- Thumbnail design
By the end, you have everything needed to launch a complete AI survival ASMR channel.
Step 1: Choosing Video Topics
The first step is generating survival-themed video ideas. Using a topic-generation prompt:
- Specify how many ideas you want
- Let the AI generate a list
- Manually choose the topic that fits your channel vision
This makes brainstorming fast and repeatable.
Step 2: Creating Scene-Based Visual Stories
Since there is no voiceover, traditional scripts are unnecessary. Instead, the focus is on:
- Visual storytelling
- Step-by-step survival scenes
By pasting the scene prompt into ChatGPT or another AI tool:
- Add your chosen topic
- Adjust video length (commonly 10–20 minutes)
- Generate a complete scene breakdown
The AI first calculates how many scenes are required and then organizes them into structured stages.
Handling Long Scene Generation
If the AI cannot generate all scenes at once:
- It will ask permission to continue
- Simply confirm, and it resumes from where it stopped
This ensures no scenes are lost.
Step 3: Generating Image Prompts for Each Scene
After scenes are ready:
- Copy the image-prompt generator prompt
- Add your topic
- Paste scenes in batches (10 at a time for best accuracy)
This approach improves consistency and detail.
Character Consistency Setup
Before generating scene visuals, the AI:
- Creates a detailed character profile
- Defines age, appearance, clothing, demeanor, and survival role
This ensures the same character remains visually consistent across the entire story.
Generating the Main Character
Using the master character prompt:
- Open your image generator
- Do not select any reference image initially
- Generate a full-body character (portrait preferred)
If issues appear (missing limbs or unclear face):
- Try different aspect ratios
- Remove demeanor details if necessary
Once satisfied, save this character as your reference image.
Step 4: Creating Scene Images
For each scene:
- Paste the image prompt into your image generator
- Use landscape orientation
- Add the character reference
- Add the previous scene image for continuity
This helps the AI maintain a cohesive visual storyline.
Step 5: Turning Images into Video
Once images are ready, convert them into animated clips using tools such as:
- V3
- Sora
- Whisk
Whisk allows direct animation but has limited free generations. Some platforms now integrate advanced video models, producing highly realistic results, though free downloads may be limited to 720p.
Step 6: Editing the Final Video
Editing is simple and efficient:
- Import all clips into CapCut
- Arrange them in story order
- Keep original sound effects (essential for ASMR)
- Use a 16:9 aspect ratio
- Apply a light visual filter if desired
Captions are unnecessary since there is no voiceover. Minimal transitions can be added for smoother flow.
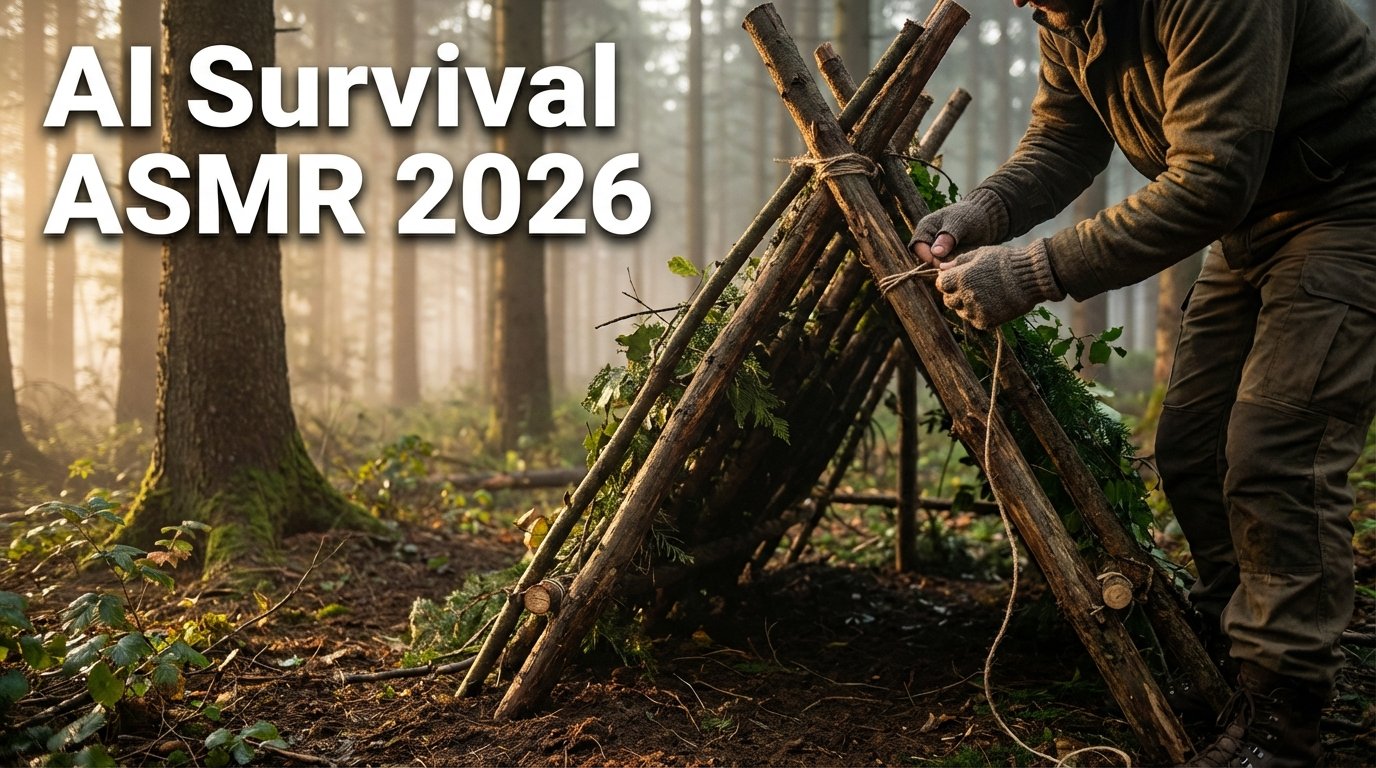
Step 7: Thumbnail Creation
Two thumbnail prompts are provided:
- One tailored exactly to your video’s story
- Another for experimenting with different styles
For best results:
- Paste the full scene list
- Select your character image as a reference
- Generate and download the thumbnail
This ensures the thumbnail matches the video’s narrative and character.
Key Takeaways
- AI survival ASMR is one of the fastest-growing niches in 2026
- AI visuals now closely match real footage
- No voiceovers are required
- Scene-based storytelling is the core structure
- Character consistency is critical
- Editing focuses on visuals and sound effects
- Strong thumbnails improve click-through rates
FAQs
Why is AI survival ASMR content trending?
Because AI-generated visuals now look highly realistic and fit perfectly with silent, immersive ASMR formats.
Do these videos require voiceovers?
No, this niche relies entirely on visuals and ambient sound effects.
How long should AI survival ASMR videos be?
Most videos range between 10 and 20 minutes, but longer formats also work.
Is character consistency important?
Yes, maintaining the same character throughout the video helps with realism and viewer immersion.
What editing software is recommended?
CapCut is commonly used due to its simplicity and strong support for visual workflows.