
AI has made it easy to make a customized video by easily replacing faces and voices cloning. Do you need to create a friendly parody or a moving tribute? DreamFace AI and high-quality voice models can provide you with the high quality of results when it comes to only a few simple actions.
It takes you through the steps of changing the face of a video character and matching it with a recorded voice using the sample of an evident figure such as Babar Azam.
Step 1: Preparing Your Assets
Before the editing gets going, two obvious source files are necessary:
- The Target Video seen on the first clip where you wish to change the face.
- A Nice Picture – download a high-resolution picture of the face of the person you will use.
- Ensure the face is not blurry, well-lit and sharp in order to make sure the AI identifies it correctly.
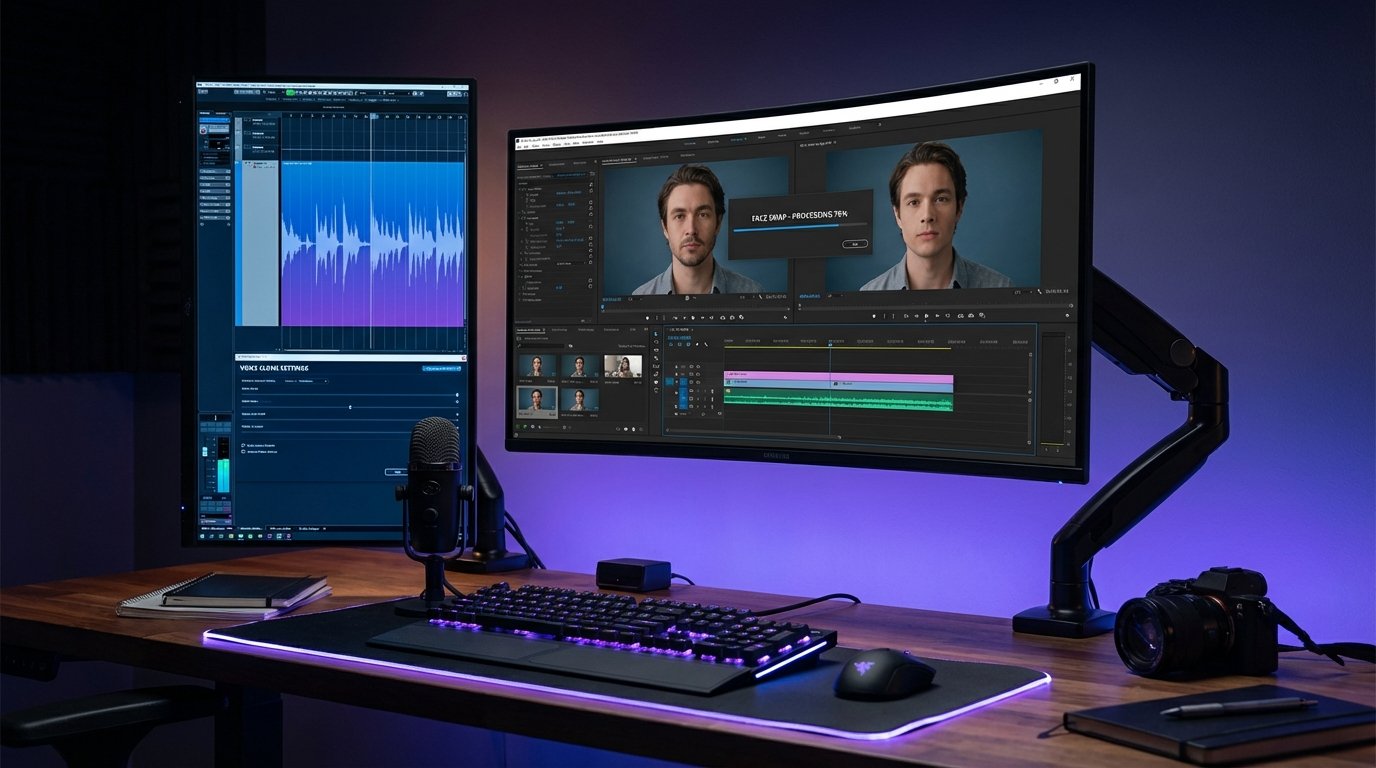
Step 2: Dreamface AI Face Swapping.
In order to edit the faces on your video, you should follow these steps:
- Uploading the Content
- Go surfing, type DreamFace AI, and go to the site.
- Register or log-in using your Google account.
- Visit the video section and upload the clip that you want to edit.
- Facade Detection and Replacement.
- Once the upload is complete, the AI is going to scan the video and determine each face in the video.
- Select Add Face and insert the clear image of your target individual (e.g., Babar Azam) on your gadgets.
- Find the face in the video you would wish to replace, verify it with the new picture and repeat the same thing with every character that you wish to replace.
- Click “Generate.” After the processing, the final result can be previewed and the edited video could be downloaded to the device itself.
Step 3: Cloning the Voice
The voice to the new face is convincing as it matches the voice. This is done using a voice -cloning model.
- Get the Model - use your browser and open the voice-cloning connection in which you begin by signing in using Gmail to edit the tools.
- Upload Audio - upload the speech you want to transform as an audio file or a video.
- Adjust the Pitch Pitch- To make the voice sound natural, adjust the pitch. In the case of male voices, a range of -8 to -10 usually works well though trial and error will be the best way to determine the tone that best matches.
- Process and Download- click on create. Once the job is completed, pre-listen to the cloning voice and thereafter download the file through the three-dot menu.
Step 4: Final Assembly and Editing.
- The final one is the matching of your face-swapped video and the audio that was cloned using a video editing software.
- Drag the video with swapped faces and the audio you are cloning to your editing creating program.
- silence or delete audio track of video.
- Make the audio matched with the video movements in order to make the lip-sync appear natural.
- The last video can be exported with the resolution desired.
Key Takeaways
Image Quality Counts, the AI requires a non-blurry picture of the face to map out the new face.
Batch Selection - assigning the new face to every identified character of the AI tool will have to be done manually.
Pitch Adjustment - This is the most important part to change the voice in order to sound authentic.
Final Sync - it is preferable to put the original audio of the video at zero before cloned voice is added so that their voices do not overlap.
FAQs
What Swapping Face site is utilized in this process?
DreamFace AI allows people to post videos and replace recognized faces with an actual image.
What can I do to make the voice that I cloned sound more real?
Simple changes in the pitch in cloning. Environments of -8 or -10 optimized the output to replicate a natural sound of the target.
Is it possible to replace various faces in one video?
Yes. The AI identifies all the faces, and next comes assigning each face by assigning a new face before creating the last file.
And how come the very first frame of the video did not change the face?
Not being able to recognize the face immediately, the AI can miss first frames when the face is not in good view or angled in an awkward manner.