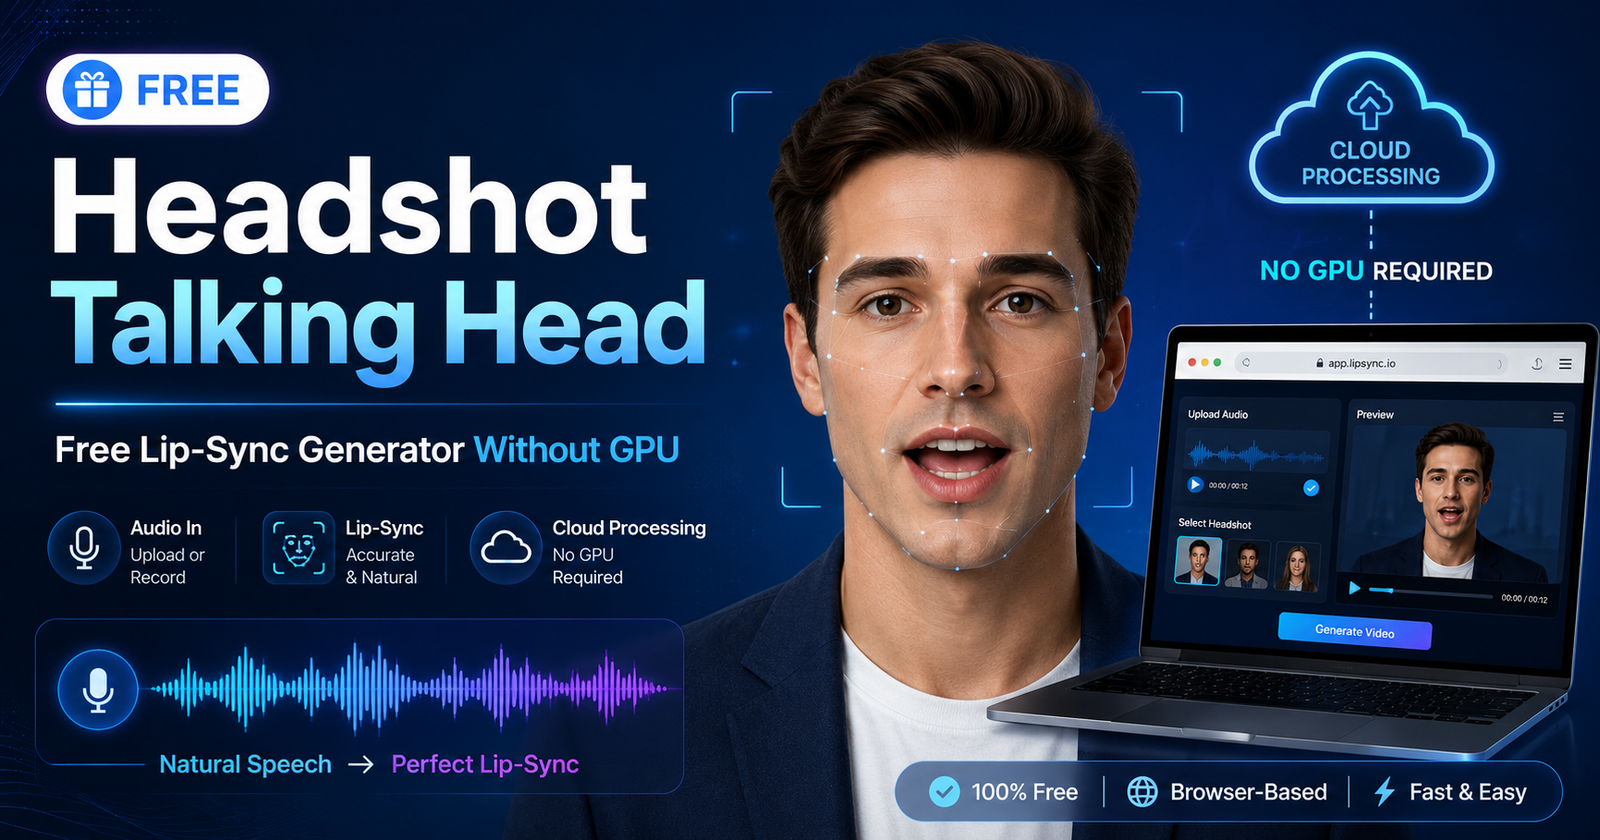
A free talking head lip sync generator without GPU can transform a simple portrait into a speaking video without expensive hardware or complicated editing software. You upload a clear headshot, add speech through text or audio, and let the online platform animate the face. The tool matches the mouth movements with the spoken words while adding natural blinking, facial motion, and subtle head movement.
This technology gives content creators, teachers, marketers, freelancers, and small businesses a practical way to produce presenter-style videos. Users no longer need a professional camera, studio lights, actors, or a powerful graphics card. A browser, a stable internet connection, a clear portrait, and a suitable voice recording can complete the main workflow.
What Is a Headshot Talking Head Generator?
A headshot talking head generator converts a still portrait into an animated video in which the person appears to speak. The generator studies the face, identifies important facial features, and connects the supplied voice with matching mouth shapes.
The process usually starts with one front-facing photograph. The system detects the eyes, eyebrows, nose, lips, jawline, and overall face position. It then processes the speech and creates suitable facial movements for each sound.
A good AI talking photo generator does more than open and close the mouth. It creates blinking, jaw movement, cheek motion, and small changes in expression. These details help the final video look more natural and engaging.
Users can create educational explainers, product presentations, social media clips, digital spokesperson videos, news-style updates, and short promotional content from a single photograph.
How Does Lip Synchronization Work?
Lip synchronization technology connects spoken sounds with visible mouth positions. Every spoken word contains smaller sound units. The generator analyzes these sound units and selects a matching mouth shape for each moment in the audio.
The platform creates a sequence of facial frames and combines them into a finished video. Accurate timing makes the lips appear connected to the voice instead of moving randomly.
Modern tools also track pauses, emphasis, speech speed, and pronunciation. A slower sentence requires wider and more deliberate mouth movements. A fast sentence requires shorter transitions between mouth shapes. The generator adjusts these movements throughout the clip.
Clear audio usually produces better results because the system can identify each sound more accurately. Background music, echo, noise, and overlapping voices can reduce lip-sync quality.
Why Do You Not Need a GPU?
Traditional video-generation software often uses local computer resources. Advanced facial animation may demand a dedicated graphics card, large memory, model files, and technical setup. These requirements can make local generation difficult for beginners.
A cloud-based lip sync generator removes that obstacle. The website performs the demanding processing on remote servers. Your browser sends the portrait, script, or audio to the platform. The server creates the animation and returns the finished result.
This approach allows users to create a talking avatar without GPU on standard laptops, office computers, tablets, and some mobile devices. The local device only handles the website, file upload, preview, and download process.
Cloud rendering also removes the need to install machine-learning libraries, configure drivers, download large models, or solve compatibility errors. Users can focus on the content instead of the technical setup.
Main Benefits of a Free Talking Head Lip Sync Generator Without GPU
No Expensive Hardware
A browser-based generator reduces hardware costs. Users do not need a gaming computer, workstation, or high-end graphics card. This advantage makes talking-head production accessible to students, freelancers, small businesses, and new creators.
Simple Video Production
The workflow usually requires only a portrait and speech. Users can create a video without learning complex keyframe animation, facial rigging, or professional compositing.
Faster Content Creation
A photo-to-talking-video tool can shorten the production process. Traditional presenter videos require planning, filming, repeated takes, lighting, makeup, sound recording, and editing. A talking-head generator removes many of these stages.
Consistent Presenter Appearance
Creators can use the same digital presenter across multiple videos. A consistent face, background, framing style, and voice can strengthen brand recognition.
Multilingual Content
Many online generators support different languages and voice options. Businesses can prepare regional versions of the same message without filming the presenter again.
Accessible Experimentation
Free plans often allow users to test the workflow before paying for longer videos, higher resolution, additional voices, or commercial features. Users should always check the current limits and licensing conditions before publishing.
How to Create a Talking Head Video From a Headshot
Step 1: Choose a Clear Portrait
Select a high-quality image with a visible face. Use a front-facing or slightly angled pose. Keep the eyes, nose, mouth, jaw, and forehead visible.
Avoid heavy shadows, blurred details, covered lips, extreme facial angles, sunglasses, and hair across the face. A simple background can also help the generator identify the subject.
A professional headshot, realistic character portrait, digital illustration, or brand mascot may work when the platform supports that visual style.
Step 2: Prepare the Script
Write a short, direct script that sounds natural when spoken. Use clear sentences and logical pauses. Remove unnecessary words and complicated phrases.
A strong script should introduce the topic quickly, explain one main idea, and finish with a clear action or conclusion. Short sections usually create better social media videos.
Read the script aloud before generation. This step helps identify awkward wording, long sentences, and difficult pronunciation.
Step 3: Add Text or Upload Audio
Some platforms convert written text into speech through text-to-speech voices. Other tools let users upload recorded audio. A custom recording can create a more personal result, while text-to-speech can produce content quickly.
Record audio in a quiet room. Keep the microphone close enough to capture a clean voice. Speak clearly and maintain a consistent pace. Remove long silences, background noise, and sudden volume changes.
Step 4: Select Animation Settings
Choose the available voice, language, facial expression, movement level, aspect ratio, and output quality. Use moderate motion for professional explainers. Strong movement may suit entertainment content, but excessive animation can make the result look unnatural.
Select a vertical format for short-video platforms and a landscape format for websites, presentations, and standard video channels.
Step 5: Generate and Review
Start the rendering process and review the full output. Check the mouth timing, facial stability, eye movement, image quality, and audio clarity.
Watch difficult words and fast sentences carefully. Regenerate the clip after adjusting the script or audio when the lip movement looks weak.
Step 6: Edit the Final Video
Add branding, captions, background music, visual examples, screen recordings, product shots, or supporting footage. Keep background music lower than the voice.
Captions can improve accessibility and help viewers understand the message without sound. Use readable fonts and accurate timing.
“`html ```How to Improve Lip-Sync Quality
Start with a sharp image. A low-resolution portrait gives the generator fewer facial details. Use balanced lighting and natural skin texture.
Choose a neutral expression. A closed-mouth smile or relaxed face often creates smoother animation than an exaggerated expression.
Use clean speech. Clear pronunciation helps the tool connect sounds with suitable mouth shapes. Reduce echo and remove background noise before uploading the audio.
Keep the face large enough in the image. A distant subject leaves fewer pixels around the lips and eyes. Crop the portrait around the head and upper shoulders while leaving some space around the face.
Use shorter clips during testing. A ten-second test can reveal problems with the image, voice, and animation settings before you generate a longer video.
Avoid very fast speech. A steady pace gives the generator enough time to form visible mouth movements. Natural pauses also improve realism.
Best Uses for an Online Talking Head Generator
YouTube and Social Media
Creators can produce introductions, commentary, tutorials, motivational clips, storytelling videos, and short updates. An online talking avatar creator can support faceless channels that still need a visible presenter.
Online Courses
Teachers can turn lesson scripts into presenter videos. They can combine the animated speaker with slides, diagrams, examples, and screen recordings.
Product Marketing
Businesses can create product introductions, feature explanations, promotional messages, and frequently asked question videos. A consistent virtual spokesperson can appear across several campaigns.
Customer Support
Companies can convert common support answers into short visual guides. A friendly talking presenter can make instructions easier to follow.
News and Information Videos
Publishers can create brief updates from written scripts. They should verify every fact and clearly label fictional or synthetic presenters when necessary.
Multilingual Communication
Organizations can create different language versions of announcements, training material, and marketing messages. They should review pronunciation and translation accuracy before publication.
Limitations of Free Lip-Sync Tools
Free access may include watermarks, short duration limits, slower processing, lower resolution, limited voices, or restricted commercial rights. Platforms can change these conditions, so users should review the current pricing page and usage policy.
The result may also struggle with side-facing portraits, facial obstructions, emotional speech, fast dialogue, singing, and unusual pronunciation. Regeneration can improve some problems, but it cannot fix every weak source image.
A generated face may sometimes show unstable teeth, blurred lips, unnatural blinking, or stiff movement. Careful image selection and clean audio can reduce these issues.
Users should never animate another person’s image or clone a voice without proper permission. Ethical use protects privacy, prevents impersonation, and maintains audience trust.
Free Online Generator vs Local Software
A free online generator offers convenience. It handles setup, model hosting, processing, and updates. Beginners can start quickly and avoid technical installation.
Local software gives advanced users more control over models, privacy, settings, and processing. However, local generation may require a compatible GPU, storage space, command-line knowledge, and troubleshooting skills.
Users who need simple videos should consider browser-based generation. Users who need full control, high-volume rendering, custom models, or offline processing may prefer a local workflow.
The best option depends on budget, technical knowledge, privacy requirements, video length, quality goals, and publishing frequency.
Frequently Asked Questions
Can I create a talking-head video without a graphics card?
Yes. A browser-based service can process the animation on remote servers. Your computer only needs to run the website and manage the uploaded files.
Can I animate one photo with my own voice?
Many talking-photo generators support uploaded audio. Use a clear recording and confirm that the platform accepts your preferred file format.
Does a free generator create watermark-free videos?
Some services include a watermark on free exports, while others provide limited watermark-free generations. Check the current export rules before starting a project.
Which image creates the best result?
Use a sharp, well-lit, front-facing portrait with visible eyes and lips. Avoid blur, extreme angles, facial obstructions, and heavy shadows.
Can I use the generated video commercially?
Commercial rights depend on the platform, plan, source image, voice, and content license. Read the terms before using the video in advertisements, client work, or paid products.
Is a talking-head generator suitable for mobile users?
Many browser-based tools work on modern mobile browsers, but large uploads and video editing may work better on a laptop or desktop computer.
Final Thoughts
A free talking head lip sync generator without GPU offers a simple route from a static headshot to an engaging presenter video. Cloud processing removes the need for expensive graphics hardware, complex installations, and advanced animation skills.
The strongest results come from a clear portrait, natural script, clean voice recording, moderate facial motion, and careful review. Creators should also respect consent, privacy, licensing, and transparency whenever they use a real person’s face or voice.
With the right preparation, a headshot animation tool, AI lip sync video maker, or browser-based talking avatar generator can support educational content, marketing, social media, customer support, and multilingual communication. The technology reduces production barriers while giving more users access to presenter-style video creation.